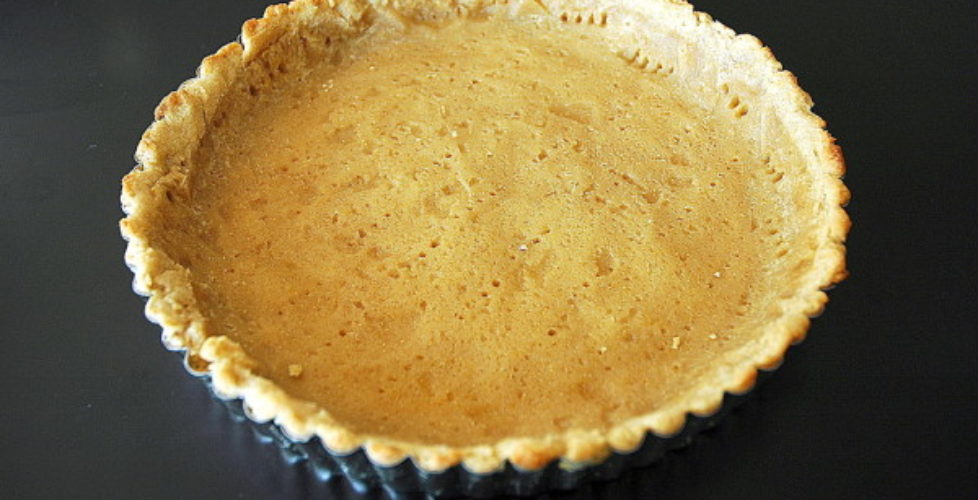
Sweet Pie Crust
My sister Alexandra is the true baker of the family. She loves it and is has an excellent talent for it. For some reason she doesn’t mind all the measuring and mixing. She makes anything and everything: from killer lemon squares to, on occasion, a full blown Bûche de Noël (including incredible marzapan bugs and mushrooms). It occured to me recently to leave the baking to the expert. So, curtesy of Alexandra and straight out of Boston; a primer on pie crust. Enjoy!
So you buy those frozen store brand pie crust, do you?
Do yourself a favor and learn how to make the real thing. With this recipe you will be able to kiss those pre-packaged, store-bought, freezer-burned lumps goodbye. This option feels, tastes and looks better. You’ll also feel a little better about yourself as a person. It’s win-win.
Easy Pie Crust (courtesy of Rogers and Gray, The River Cafe)
2 1/2 cups flour
Pinch of salt
1 cup unsalted butter cut into cubes
Scant 1 cup confectioners’ sugar
3 egg yolks
If you have a food processor, pie crusts are one of the easiest things to make in the world of baking. They are also one of the fastest, as it takes less than five minutes to put one together. This particular recipe is even easier than most because it eliminates the always messy, often difficult, and usually frustrating process of rolling out the dough.
Simply pulse your flour, salt, and butter in a food processor until the mixture resembles coarse bread crumbs (you’ll get the right consistency in a matter of seconds). Add the sugar and then the egg yolks and pulse again. The dough will immediately form a ball and, voila!, pie crust.
If you don’t have a food processor, you should seriously consider buying one. If that is not an option use your hands to mix the dough. Most cookbooks will tell you to use two knives, rather than your hands, to cut the butter into the flour so that the butter does not begin to melt from the heat of your hands. We over here at Gourmet & Gourmand quickly figured out that we aren’t coordinated enough to successfully cut the butter and ended up sword fighting with our knives instead. It is much faster, and much easier to use your hands. You do have to work rather quickly, but the the perk of working with your hands is that you can feel even the slightest change in the texture and temperature of the butter. Grab a handful and flatten the butter bits and flour between your fingers, then rub the mixture between the palms of your hands so that it quickly crumbles into the bread-crumb-like texture that you would get using a food processor.
When you add the egg yolks, smear the dough across the bottom of the bowl so that the yolks and the butter-flour mixture integrate well. Form it all into a ball and wrap the dough in plastic wrap and refrigerate for at least 30 minutes. When you’re ready to make your tart simply coarsely grate dough into a 12-inch fluted tart pan and then press it evenly into the sides and bottom, leaving a little overhang at the edges.
Oh and don’t froget to pre-cook you crust. Prick the bottom with a fork and then blind bake for 20 min at 350F (you will want to add some sort of weight such as beans in order to keep the crust from rising as it cooks)
Once it’s out of the oven you’re ready for your filling! I’ll leave that part to your imagination.
